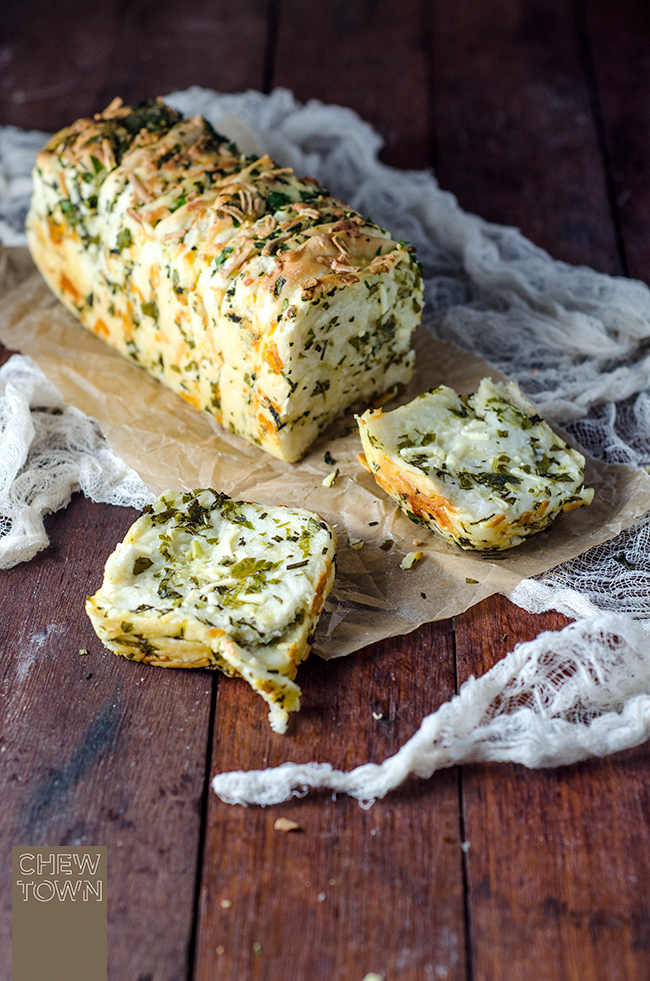
I do love a food mash up. The idea of throwing two good things together to make a new wonderful thing always makes me smile (think pizza cones and cronuts). So, when I was asked to come up with a recipe using a new mash up ingredient soon to hit supermarket shelves I couldn’t resist!
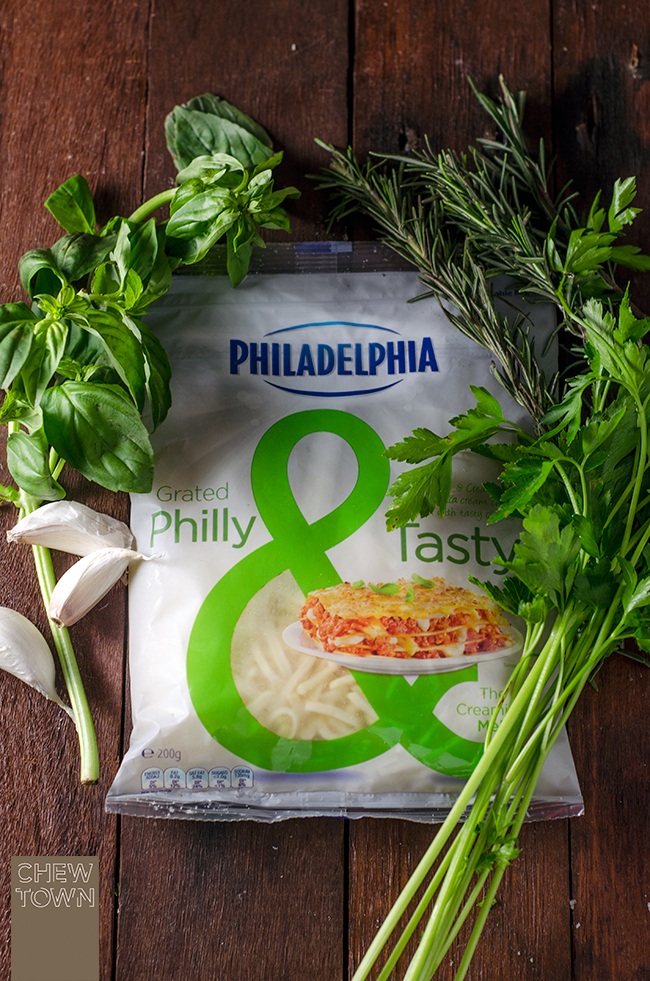
Philadelphia is launching a new grated cheese product which is a mash up of cream cheese and tasty cheese all in one. How perfect, because I had been wanting to try a recipe for a little while now which would be the perfect vehicle to showcase this new cheese.
Savoury and sweet pull apart breads have being winding their way around the internet for a little while now, and I have watched their rise with interest. When approached to create a recipe using Grated Philly and Tasty, the idea of making a garlic herb and cheese pull apart bread was so well received that I got onto planning the recipe immediately.
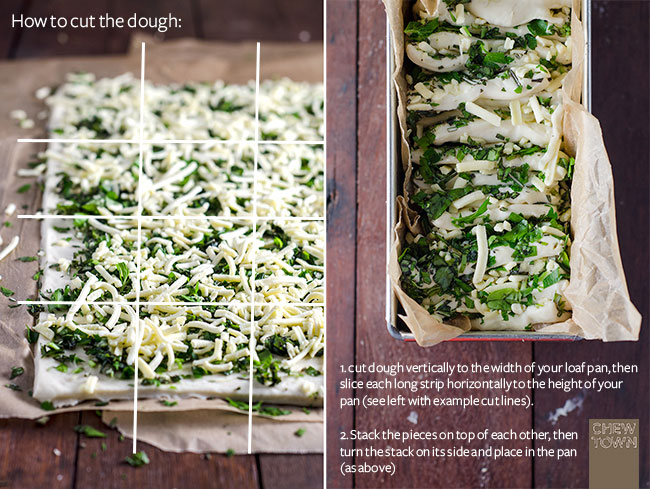
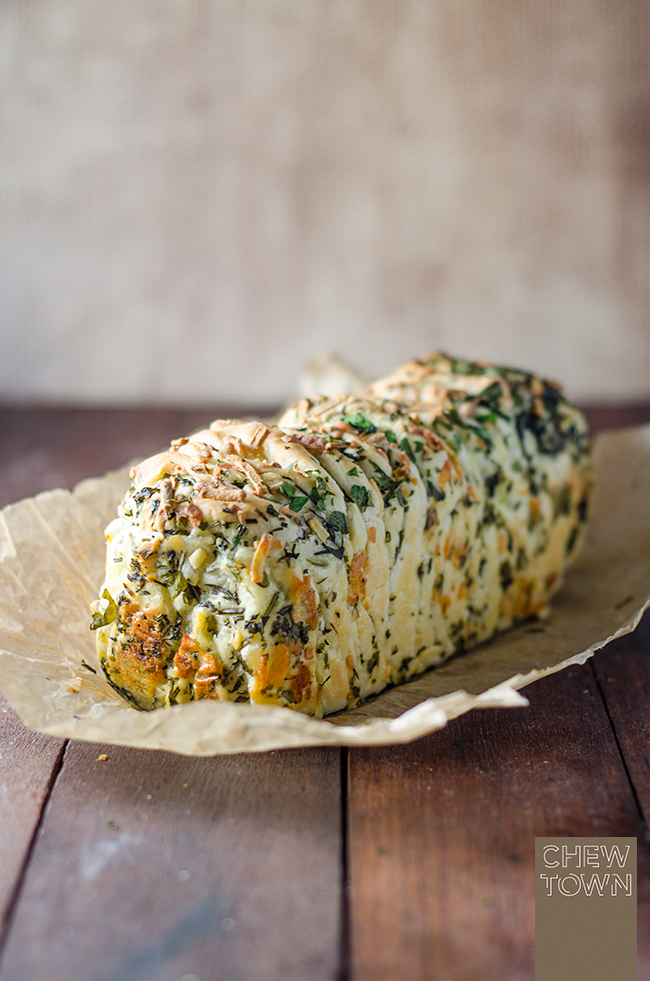
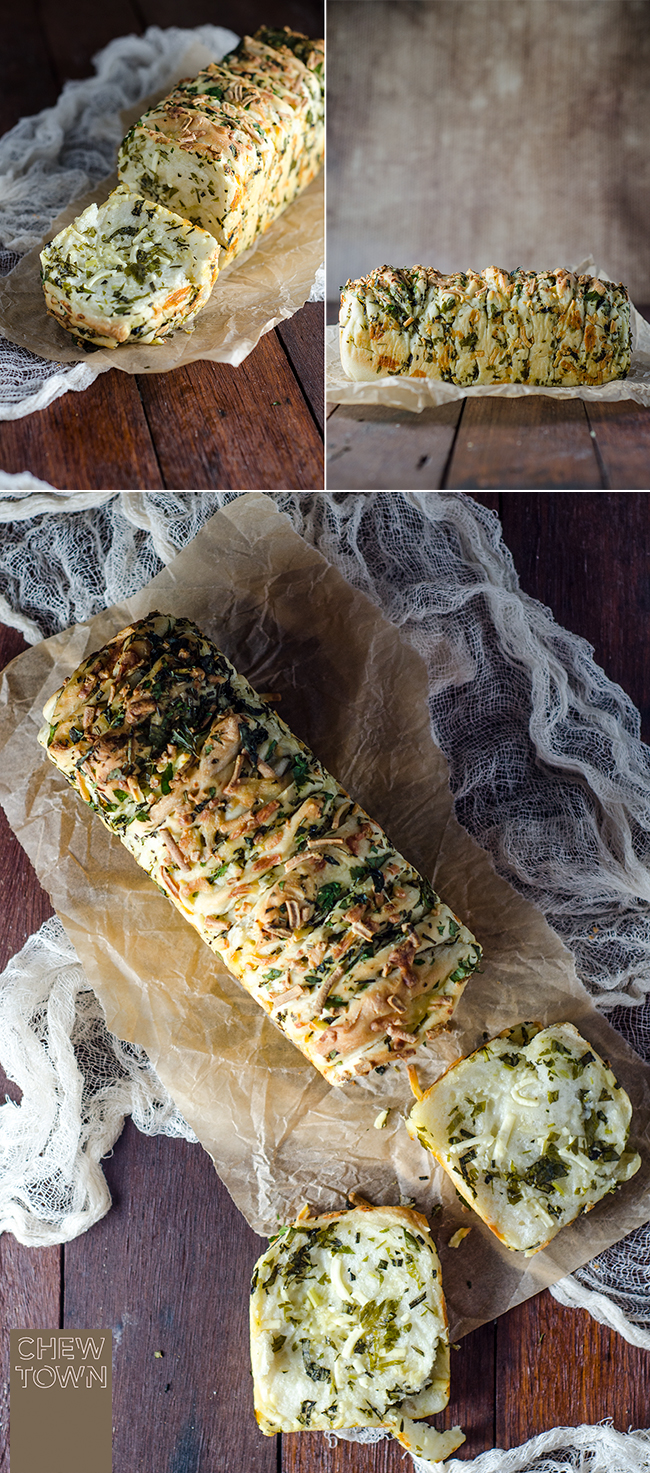
Really, you could use this recipe for any savoury pull apart. For my recipe, I’ve used a half quantity of my family’s tried and tested pizza dough as the bread base (this makes two pull apart loafs) and then topped it with a fresh herb mixture, garlic and cheese which is then cut into squares and piled on top of each other to fit in a loaf pan (see below). Other than waiting for the dough to rise and prove, the rest of it is pretty simple – and the results are scrumptious.
It does get a little messy cutting the piling the squares on top of each other with a little herb-and-cheese-alanche every now and again, but what is cooking without getting your hands dirty? It is all worth it in the end as the resulting bread is moist, incredibly fragrant and perfect to serve as a side with your next meal. And, because it makes two, you can always freeze the second loaf before you bake it for the next time you have people coming over and you want to impress with some homemade bread.
GARLIC HERB AND CHEESE BREAD
- 500g plain flour
- 1/2 tablespoon dried yeast granules
- 1/2 tablespoon salt
- 1/2 tablespoon sugar
- 1/2 teaspoon bread improver
- 325ml water at room temperature
- 1/2 tablespoon olive oil
- 1 garlic clove, crushed
- 1/3 cup chopped continental parsley
- 1/3 cup chopped basil
- 1/4 cup chopped rosemary leaves
- 1 tablespoon butter
- 200g Grated Philly and Tasty cheese
Mix the flour, yeast, salt, sugar and bread improver together in a large bowl. Add half of the water to the dry ingredients and then mix, slowly adding the remaining water whilst mixing. When all mixed together the ingredients should come together in a ball at this point transfer to a floured bench top.
Add the olive oil to the ball of dough and knead it in. If necessary, add extra flour if it becomes too sticky and continue working dough. The kneading is extremely important as it is a necessary technique to ensure the dough will rise and be fluffy. You want to kneed the dough till the texture is smooth and elastic.
Return the dough to the bowl, cover it with glad wrap and then a tea towel and keep warm until the mixture doubles in size – this can take 1 – 1.5 hours depending on the weather).
When risen, knock the dough back in the bowl and then take it out, cut it in half and roll each half out to a large rectangle about 50cm x 25cm, then trim the edges to straighten.
Spread the top of each with 1/2 butter then scatter the crushed garlic, herb mixture and grated philly and tasty cheese over both rectangles.
Cut each rectangle into strips, to the height of your loaf tins, with a very sharp knife and lay the strips on top of each and cut the layered strips into squares the width of your tins.
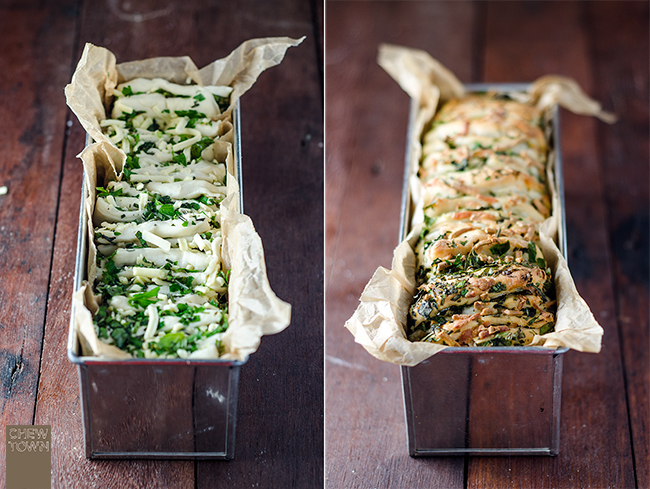
Grease or line your loaf tins, and then stack the squares on top of each other, turn the stack on its side and place them into the tins (don't worry if your dough doesn't reach the edge of the tins, the dough will rise again with the final proof). Cover the tins in glad wrap and set aside for 30 minutes.
At this stage, if you want to freeze the loafs you can.
Preheat oven to 190° Celsius.
Remove the glad wrap from the loaf tins and bake in the over for 55 minutes until the tops are golden. Remove from pan and let it rest for 10 minutes before removing from the tin and serving warm.
Chew Town would like to acknowledge its partnership with Philadelphia for this post. You can read Chew Town’s disclosure statement here for more information on brands that Chew Town chooses to work with and why. The recipe above was created, developed and photographed by Chew Town using the ingredient of Grated Philly & Tasty at the request of Philadelphia.
Komentar
Posting Komentar